
 How to put together a reliable overnight kit without spending a fortune on brand-new gear.

Reading a Trail Map Like a Local: Navigation Skills for Beginners
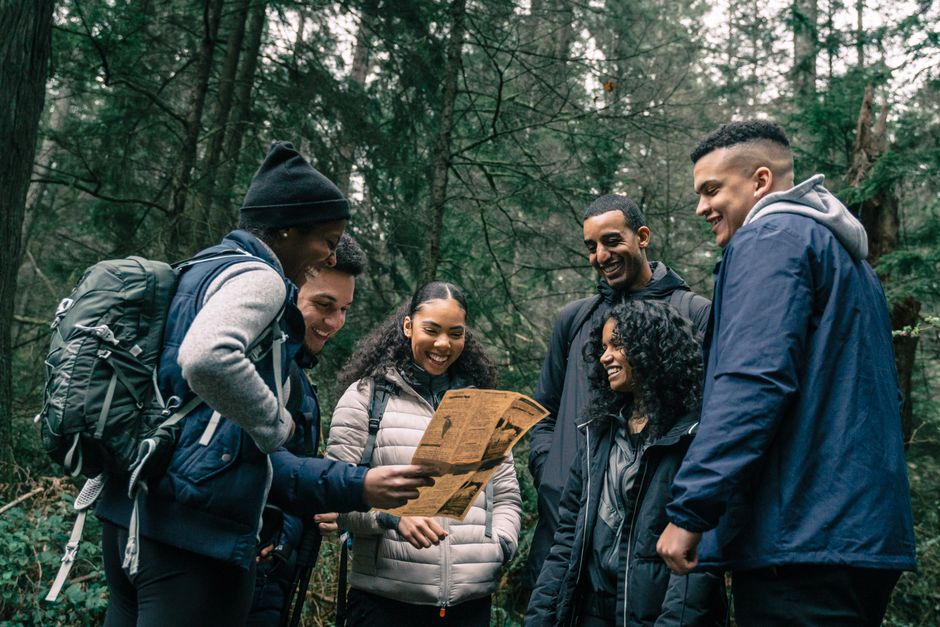
The first time I unfolded a topographic map on a windy ridge, I felt like I was reading a language I'd never studied. The squiggly brown lines looked random, the symbols were cryptic, and my phone had just died. That day taught me something every hiker eventually learns: the map in your pocket is only as useful as your ability to read it. The good news is that map literacy is a skill anyone can build, and it doesn't require a degree in cartography.
Start with the legend. Every map has one, usually tucked in a corner, and it explains what the colors and symbols mean. Green often marks forested areas, blue is water, and the brown lines are contour lines showing elevation. Take five minutes at the trailhead to actually read the legend instead of stuffing the map into your pack. That small habit prevents most wrong turns before they happen.
Understanding Contour Lines and Terrain
Contour lines are the heart of any topographic map. Each line connects points of equal elevation, and the spacing between them tells you how steep the terrain is. Lines packed tightly together mean a steep climb; lines spread far apart mean gentle ground. When you see a series of concentric circles, you're looking at a peak or a hilltop. A V-shaped pattern pointing uphill usually indicates a valley or drainage. Once you can visualize the shape of the land from those lines, you can predict whether the next mile will be a lung-burner or a pleasant stroll.
Pay attention to the contour interval, printed somewhere in the margin. It tells you how much elevation each line represents, often 20, 40, or 80 feet. That number turns a flat drawing into a three-dimensional picture in your head. If you know your pace and the terrain ahead, you can estimate how long a section will take far more accurately than distance alone suggests.
Trail Markers, Blazes, and Junctions
On the ground, trails are marked in different ways depending on the region and land manager. Painted blazes on trees, wooden posts, cairns stacked from rocks, and plastic diamonds all serve the same purpose: confirming you're on the right path. Learn the blaze pattern for your route before you go. A single blaze usually means continue straight, while a double blaze or an arrow often signals a turn or a junction ahead.
Junctions are where most navigation mistakes happen. When you reach one, stop, pull out your map, and match what you see to what's drawn. Count the trails entering the junction and check the signs if they exist. Don't rely on the most worn path, because the popular route isn't always yours. If something feels off, backtrack to the last known point rather than pushing forward and hoping. Getting temporarily lost is far less serious than getting seriously lost.
Practice makes this second nature. On your next few hikes, try navigating with just a paper map and compass for an hour, even if you have a phone in your pocket. You'll make mistakes, and that's fine. Each one teaches you to read the land a little better. Before long, those squiggly lines will start to feel like a conversation, and you'll walk into the backcountry with confidence instead of luck.